

- Published on ·
- Time to read
- 3 minute read
Night/Long Exposure Photography Guide
- Authors
- Name
- Patrick Hulce
- @patrickhulce


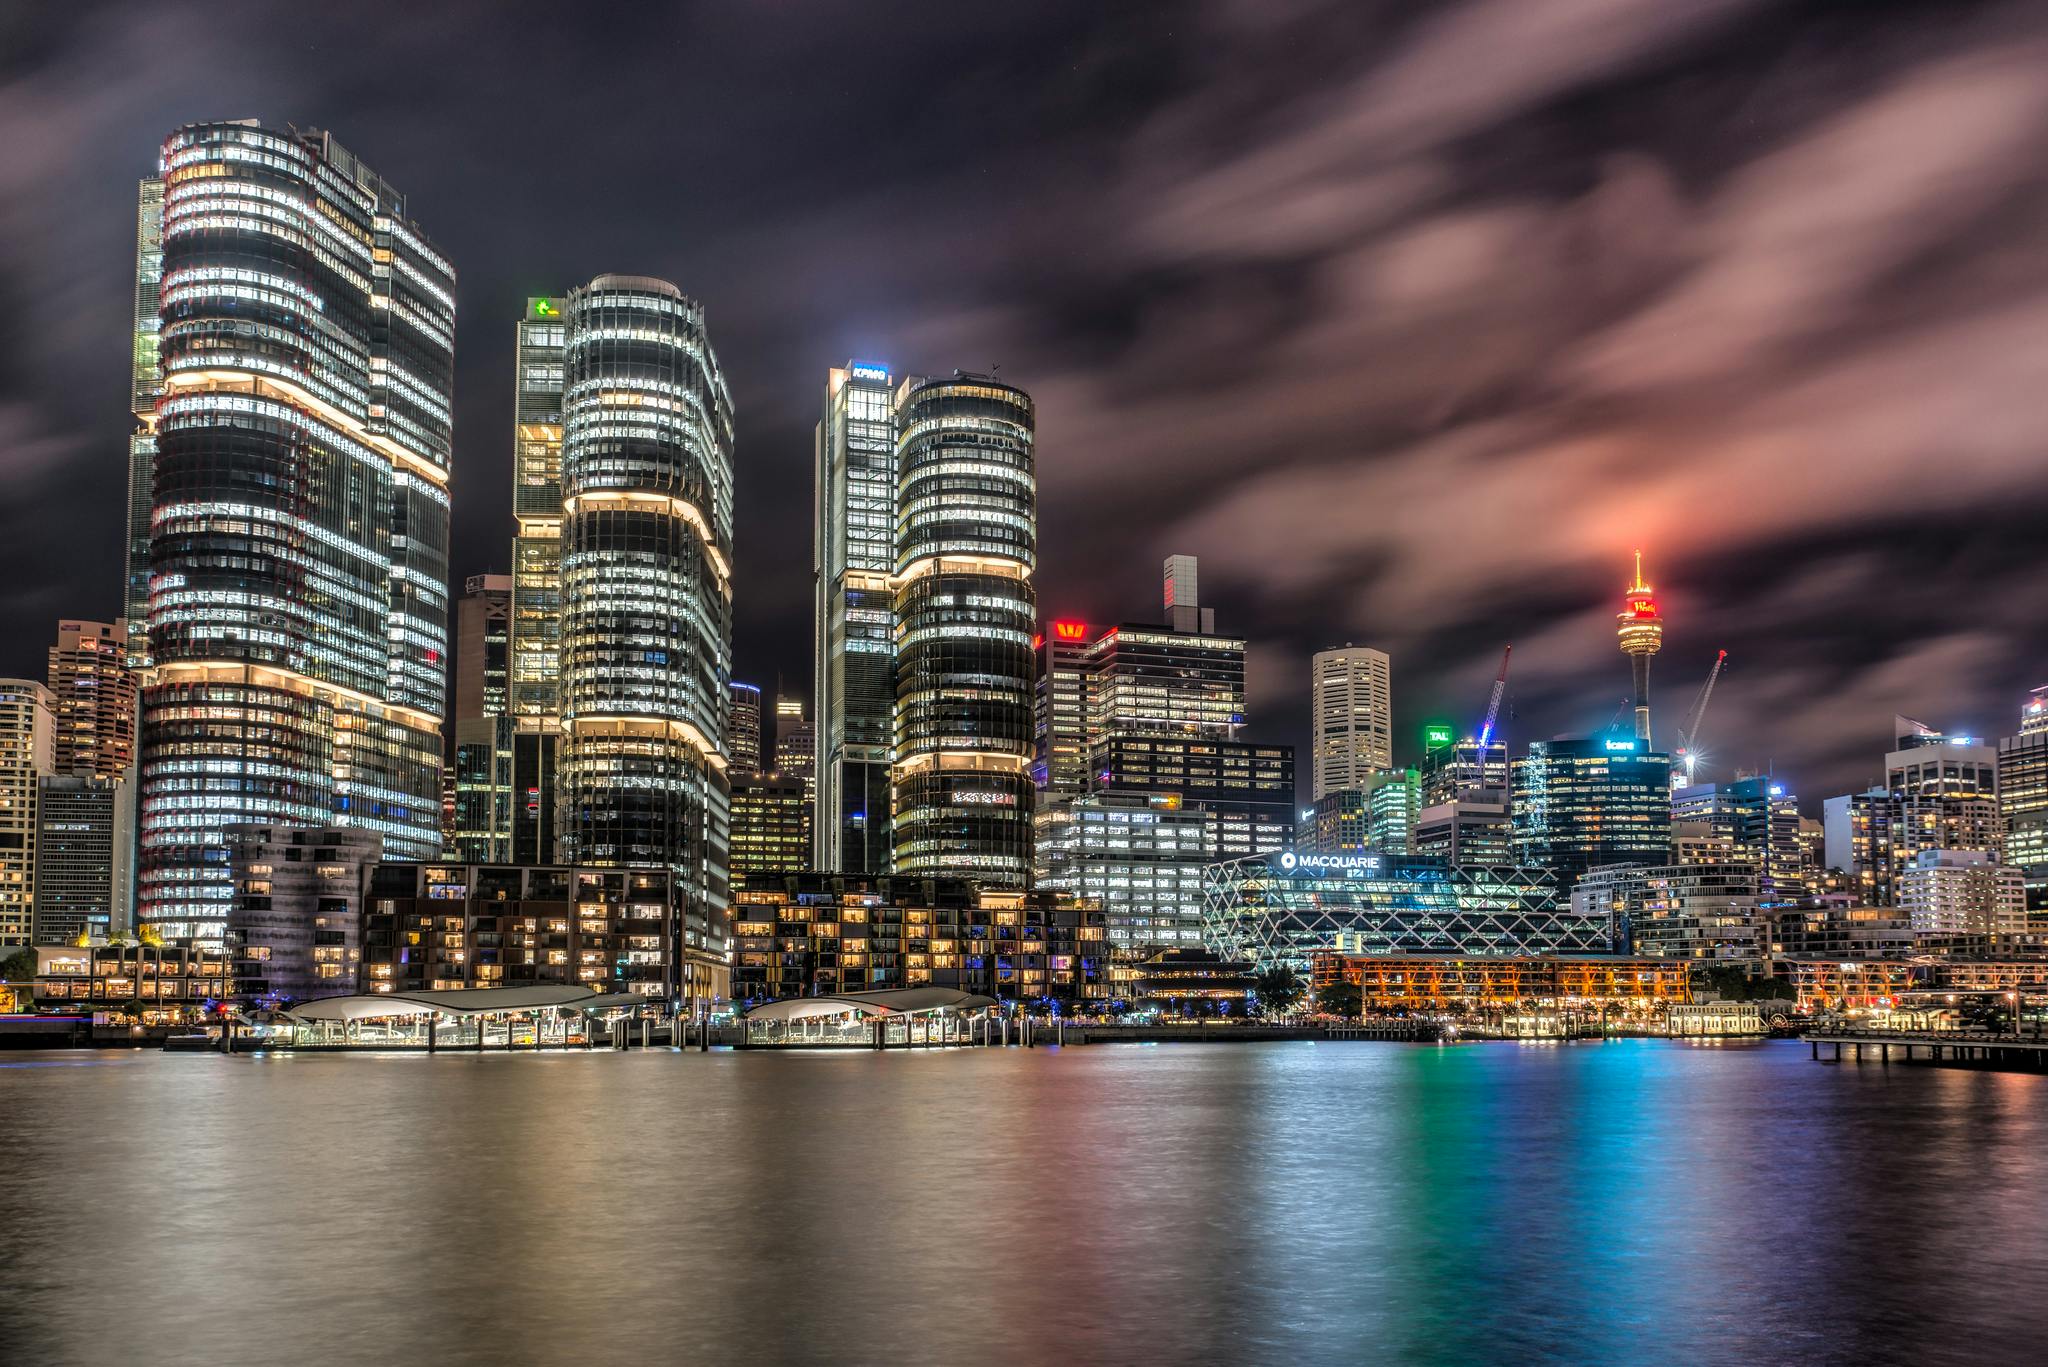
Long exposure (and night) photography is a beautiful and challenging art form. I've always loved those shots of buttery smooth oceans, long light trails, and blurred cloudy skies. When trying these myself though, nothing is more frustrating as a pixel-peeping photographer than trekking back to your desktop rig after a long night of shooting only to find blur all over your key subjects. In this blog post, we'll share some tips for preventing blurry images during long exposure and nighttime photography (including one that took me years to realize were hurting my images!).
One of the most obvious and important things to keep in mind when doing long exposure or nighttime photography is the importance of a stable camera set up. Using a heavy tripod to eliminate wind and vibrations is key to achieving sharp, clear images. Even the slightest movement can cause blur in a long exposure image, so also limit the distance between the camera and the ground as much as possible. Setting your camera down on a solid, constructed surface such as a stone wall can be great viable alternatives in a pinch.
To take it a step further, using a remote shutter release or a timer to prevent bumping or moving the camera is a great next step. This will ensure that there is less movement of the camera while the shutter is open. What I love about this tip is that I often rely on it when I don't have access to a tripod and am resting my camera on the railing or wall of a scenic overlook.
If you're truly a sharpness fanatic like me and are using a DSLR camera, using mirror up mode can even prevent the slight shake from "mirror slap". This is a small (but significant shake at short shutter speeds) occurs when the camera's mirror flips up to take the photo. By using mirror up mode, the mirror is flipped up before the photo is taken, eliminating this potential source of blur.
The final but absolutely essential killer tip that took me years to realize is to turn off optical image stabilization in your lens. While this feature can be great for hand-held photography, it can actually end up jiggling the lens a little if there is no movement, which we've just taken many steps to ensure this is the cause. This turned out to be the root cause of inexplicable blur in many of my long exposure shots for years, and it was a massive relief when I finally figured it out.
In my personal experience, I found myself struggling with getting sharp images during long exposure and nighttime photography, but after experimenting with these tips, I was able to achieve the results I wanted. I hope you too will be able to achieve sharp, clear images every time.